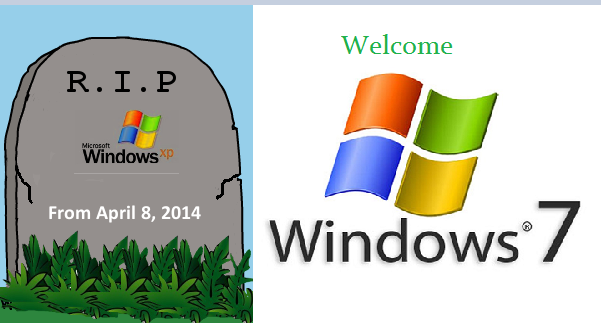
After a long support for over 13 years, Microsoft has officially declared to withdraw support for Windows XP, which is effective from 8th April 2014. Alike other users globally, you may also favor using an XP supported system, but due to support ending by Microsoft it is the time to either migrate to Windows 7 or Windows 8 to enjoy a XP-free future and to prevent the assailants to cause mayhem with your digital life.

Today, having a perfect Windows 7/8 migration plan for your computer, both virtual and physical, is becoming crucial because updates and patches for XP will not be released anymore by Microsoft, even if any serious bugs are discovered. The cyber-attackers will become more active in targeting the vulnerabilities in all XP supported systems as they are well aware that the flaws will not be patched easily. Therefore, to protect the systems users have no option left rather than upgrading it to newer operating system.
Users of Windows XP seeking to upgrade to Windows 7 without losing data may get dismayed after knowing the fact that there is actually no direct route for migration. But, with thorough planning and making use of correct tools, one can easily migrate to Windows 7 from Windows XP without losing data and with minimal ruckus. Scroll down to have a look at the step-by-step guide to upgrade from Windows XP to Windows 7.
First – the Checks
The very first thing you need to do is to check whether or not your existing hardware is competent to support newer operating system (i.e. Windows 7/8). Windows XP is the older version and ruling the market for a long time now, thereby it is necessary to check your hardware because the older hardware supporting XP might not be compatible with newer versions like Windows 7 because they are more demanding versions. The basic system requirements for Windows 7 include:
- 1 GHz processor (32- or 64-bit)
- 1 GB of RAM (32-bit); 2 GB of RAM (64-bit)
- 16 GB of available disk space (32-bit); 20 GB of available disk space (64-bit)
- DirectX 9 graphics device with WDDM 1.0 or higher driver
Second – Backup & Migration
Users seeking migration to Windows 7 from Windows XP without losing data need to create backup for all their important settings and files, especially those files that are hard to create again. If your system is free from special software programs, then with simple copy & paste would be enough for creating backup. Windows Easy Transfer Tool is another effective option to be used for creating backup and transferring the settings quickly. This tool is available on the DVD provided with Windows 7 license. To know more about the tool visit the link – Windows Easy Transfer.
Third – Drivers
Next step is to search for the drivers. It is suggested that you may browse the website of your computer manufacturer to search for the newer drivers compatible with Windows 7. The drivers that worked for Windows XP may not function well with the latest version. But, the drivers supporting Vista may work well with Windows 7, however it is not guaranteed. So, before upgrading the operating system to newer version ensure that all the required drivers are available to support Windows 7.
Fourth – Installation
So, finally you are about to migrate to Windows 7 from Windows XP. Simply pop in the installation DVD into the DVD writer of your system and reboot your computer. Follow the steps and give the command to boot from the DVD. Follow the instructions properly for a successful installation of operating system. Select custom installation when you are asked for the installation process and then select the system drive as the partition you would prefer to setup for the operating system. Once the installation is successfully completed you need to reboot the system for proper functioning or You can check out how to format PC.
The process of installation doesn’t get over here as there are few other additional steps that you need to follow to make your computer function well. Once the operating system is installed, the first thing you need to do is to install an antivirus before transferring the files from USB and browsing internet. After installing the antivirus you are free to install any applications into your computer.
Hopefully, this blog will help you to plan your upgrade to Windows 7 from Windows XP without losing your crucial data.


Let me explain: I think upgrading from XP to Vista to 7 is a pretty bad consideration if you think in longer terms. It’s not just about the license cost – even if a business has volume licences I think it’s bad. You’ll end up with a system that is essentially unstable from the beginning. I performed several upgrades (both from XP to Vista and from Vista to 7) on machines from my clients with about 30-40 LOB applications installed. What I noticed was: Performance went down about 20-30% – startup times, overall responsiveness, application speed etc. That was confirmed when I used synthetic benchmarks like PCM Vantage or CineBench. Also, there were dozens of instability issues and error messages due to missing or legacy files and registry entries. It was a mess. Hunting these issues down will cost the IT apartment much time, ESPECIALLY if you do an upgrade of the upgrade. In my experience it’s worth going the clean route – even if it takes a bit more time and effort.
With this article I wanted to show the advantages and disadvantages of upgrade routes for businesses (not the average user) – in the end, my next article (about MDT 2010, including Update 1) will show how MDT works in detail.
And I’m not sure every single IT admin uses MDT, USMT or one of the great tools Strom mentioned – they SHOULD, yes, but some don’t. That’s why we’re here! To help make these kinds of choices.